In a food processor process 18 Oreos until fine crumbs are formed
Add the crumbs to a bowl and remove 2 tablespoons for decoration
Add the melted butter and stir until the crumbs are combined
Add the mixture to an 8-inch springform cake pan and use a spatula or the back of a spoon to form an even base ensuring that you push the crumbs right to the edge of the pan
Leave to set in fridge whilst the frosting is being made
In a bowl add the double cream and whisk until soft peaks are formed
Add the cream cheese, icing sugar and vanilla extract then whisk until all ingredients are incorporated ensuring that you do not over whisk
Chop up the remaining Oreos into fine pieces and add into the mixture and fold gently until the Oreos are evenly distributed
Add the mixture onto the set biscuit base and use a spatula to create an even top
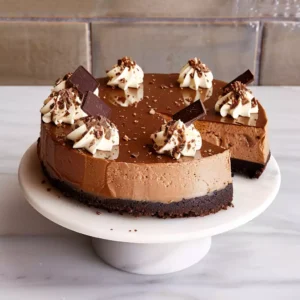
Sift on the remaining crumbs on to the top for decoration – if you would like to add whipped cream then prepare the whipped cream just before serving and add onto the cheesecake then
Leave to refrigerate for at least 4 hours, preferably overnight
When set remove from fridge and enjoy!


Latest comments (4)
An absolute winner! Everyone loved it so much thank you for sharing this dessert.
Thanks Zub,
I’m glad you enjoyed my recipe. Thanks for trying out my recipes 🙂
I made this, it was amazing, only difference was I reduced the sugar to 50g because I don’t like sweet things.
Thank you so much for trying out my recipe! That’s a very good idea if you want to have less sugar 🙂