In a large bowl cream together the butter with brown sugar and the white sugar
Add the egg and vanilla extract and mix until combined
Sift the self-raising flour and the baking soda together into the mixture then mix the flour until there is no trace of flour
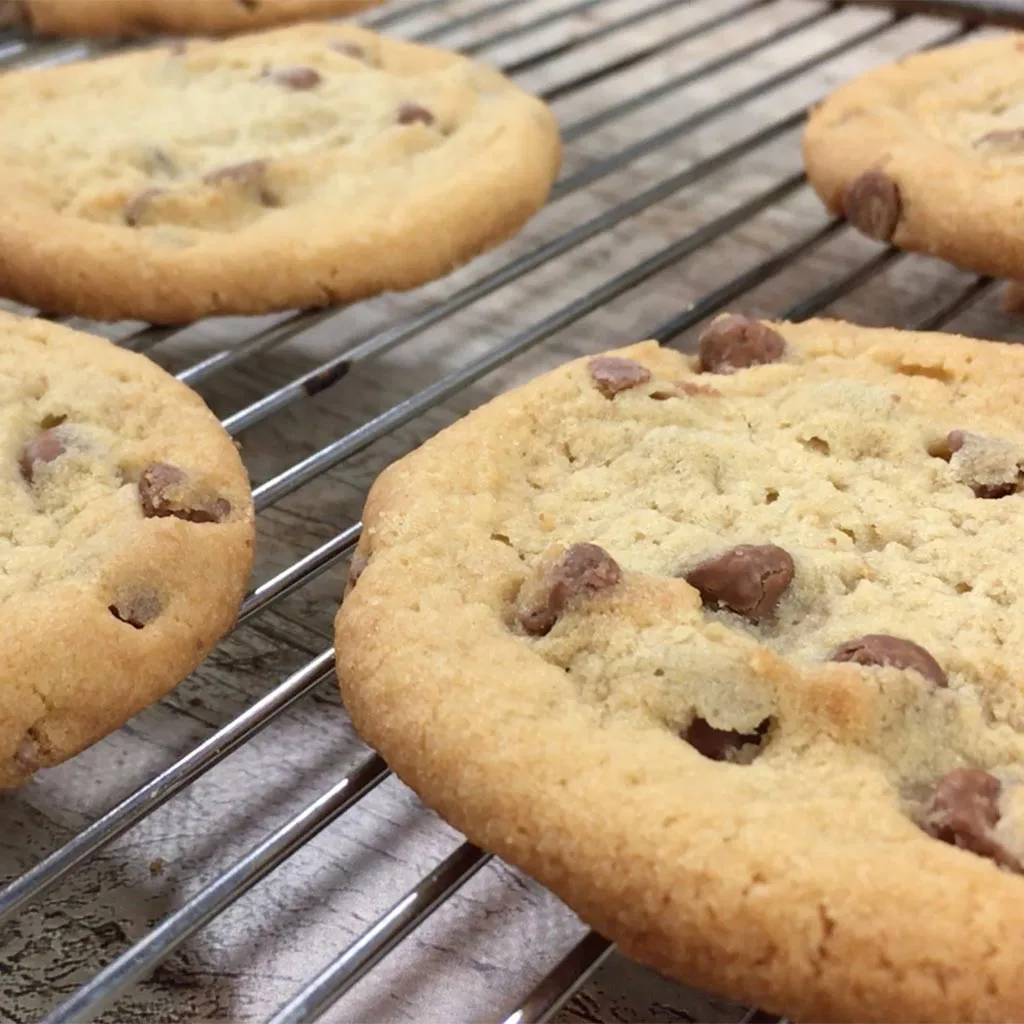
Fold in the chocolate chips into the dough
Take a tablespoon of the cookie dough mixture and make a smooth ball
Place the dough balls on to a baking tray ensuring to leave enough space between each ball to allow the cookies to spread then leave in the refrigerator for at least 30 minutes
Bake in the centre of a preheated oven at 180°C/350°F (gas mark 4) for 12-15 minutes
Let the cookies cool down before serving them warm or cooled with a glass of milk and enjoy!


Latest comments (2)
Thank you for sharing, delicious easy n yummy recipe
So glad you enjoyed them! Nothing beats homemade cookies, right? 🍪