Preheat your oven to 200°C (180°C fan)/gas mark 6.
In a large bowl, mix together the plain flour, 2 tablespoons of caster sugar, and a pinch of salt.
Add the cold butter pieces and use your fingertips to rub them into the flour mixture until the mixture looks like breadcrumbs.
Add the beaten egg to the mixture and mix until the dough comes together. Divide the dough into two portions, one slightly larger than the other.
Roll out the larger portion of the dough on a floured surface to fit a 23cm pie dish. Gently press the dough into the bottom of the dish and up the sides.
In another large bowl, combine the chopped apples, 100g of caster sugar, cinnamon, nutmeg, and plain flour. Mix well.
Pour the apple mixture into the pie dish and dot it with softened butter.
Roll out the smaller portion of the dough on a floured surface to form the top of the pie. Lay it over the top of the apple filling and trim the edges to fit the dish.
Use a fork to press the edges of the dough together to seal the pie.
Cut a few slits in the top of the pie to allow steam to escape.
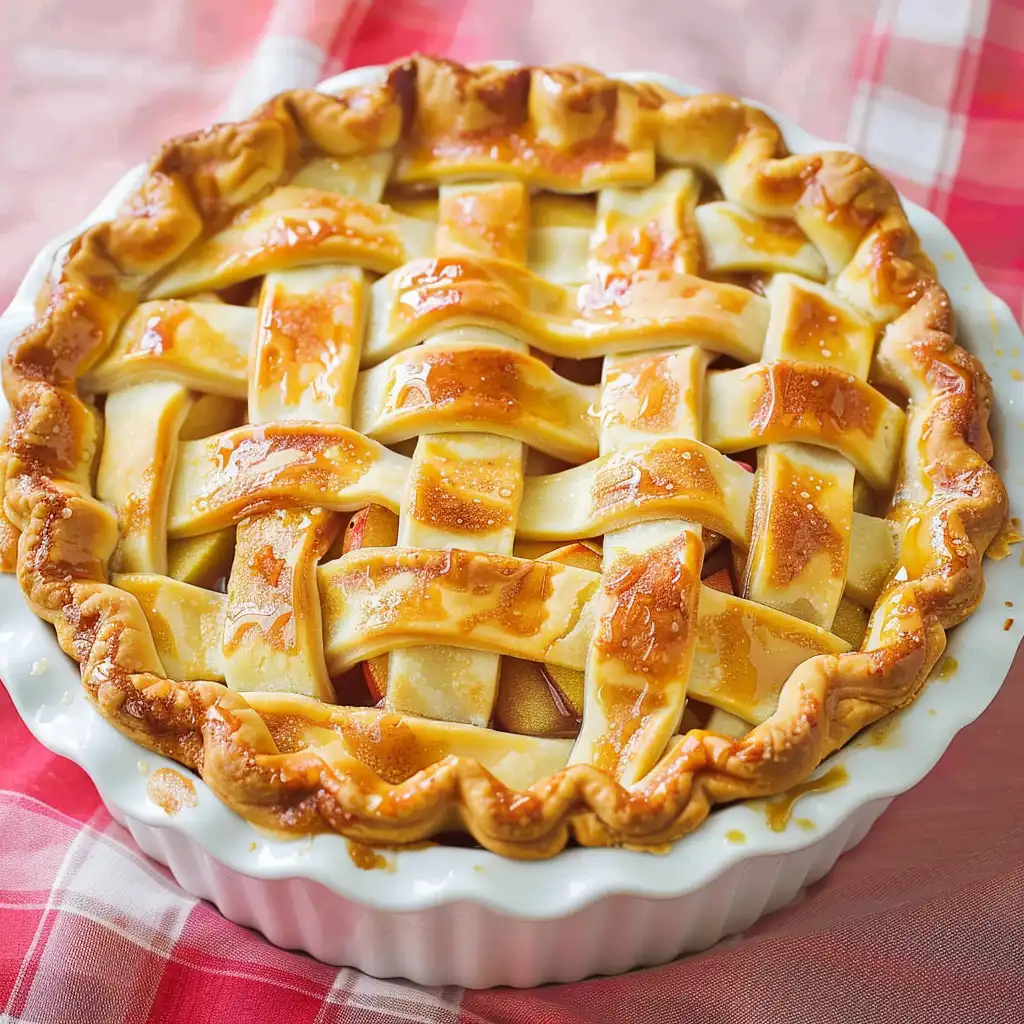
If you wish to make a lattice pattern, slice your pastry into strips approximately 1.5 cm wide (about ½ inch) and arrange them in layers on top of your pie. Remove any extra pastry that extends beyond the pie edges.
Bake the apple pie in the preheated oven for 45-50 minutes, or until the crust is golden brown and the filling is bubbling.
After baking, let the pie cool for 10-15 minutes before slicing and serving. You can serve the apple pie with a scoop of vanilla ice cream or whipped cream, if you like.