In a large bowl, mix together the flour, salt, and oil.
Gently add the water In small increments until a dough forms.
Cover and let the dough rest for 15 minutes
Then knead again for a few minutes.
Maker small dough balls. Roughly 8-10 dough balls.
Dust the surface with flour and roll the dough ball into a thin chapati. Shake off any excess flour.
Heat a non stick crepe pan over medium heat.
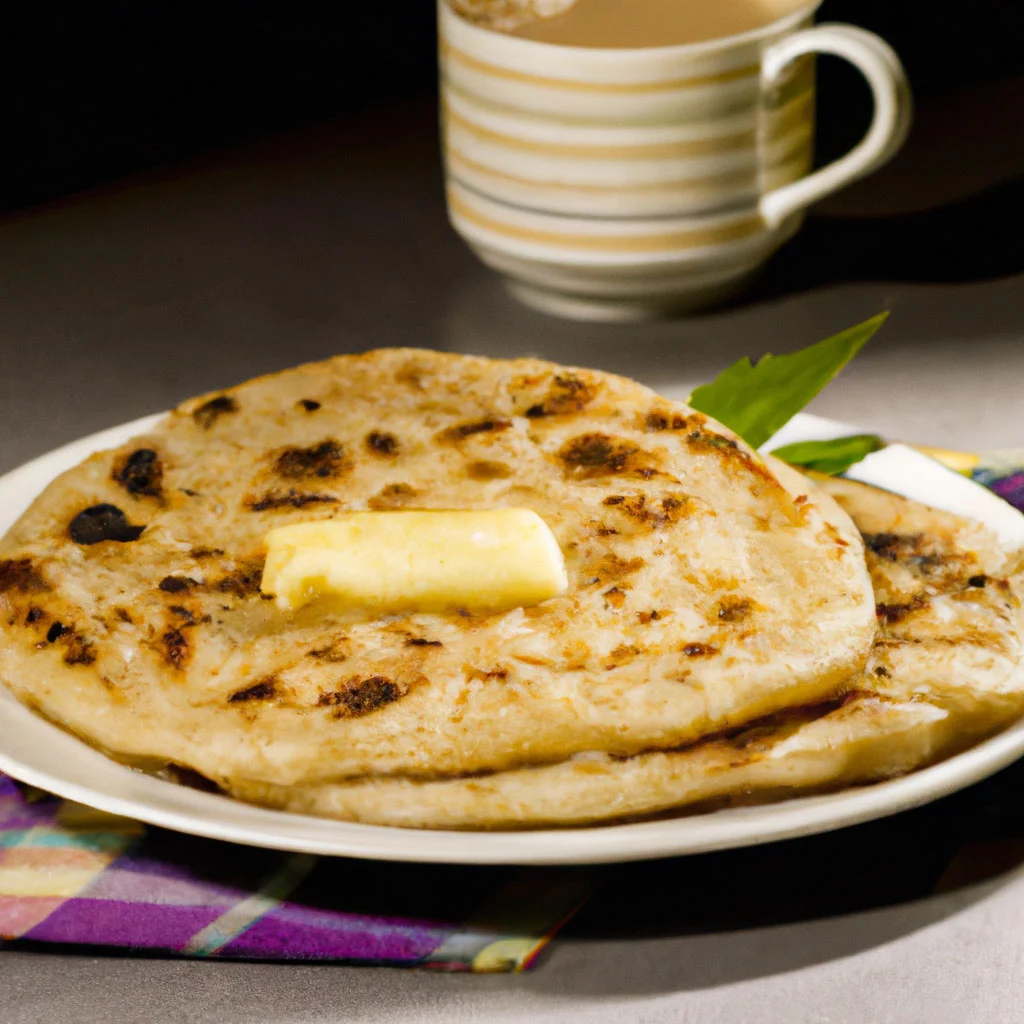
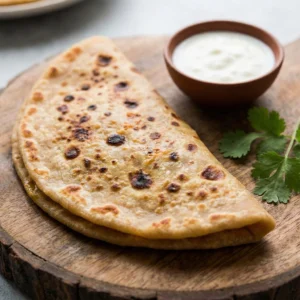
Add one paratha and cook for 2-3 minutes, until opaque, not browned.
Flip and cover the paratha with ghee and cook for 1-2 minutes.
Finally flip over one more time and cover with ghee and cook for 1 minute.
Cook both sides until golden brown.
Transfer to a paper towel and repeat with the remaining dough balls.


Add your first comment to this post