Skip to content
Recipes
Course
Appetisers
Desserts
Main Course
Sauces and Dips
Side Dishes
view all >>>
Diet
Dairy-Free
Gluten-Free
Healthy
Vegan
Vegetarian
Ingredients
Chicken
Vegetable
Chocolate
Fish
Rice
view all >>>
Meal
Baking
Beverages
Breakfast
Dinner
Lunch
Snacks
Cuisine
American
Chinese
Indian
Italian
Mexican
view all >>>
Print
Pin
Rate
Save Recipe
Home
Recipe
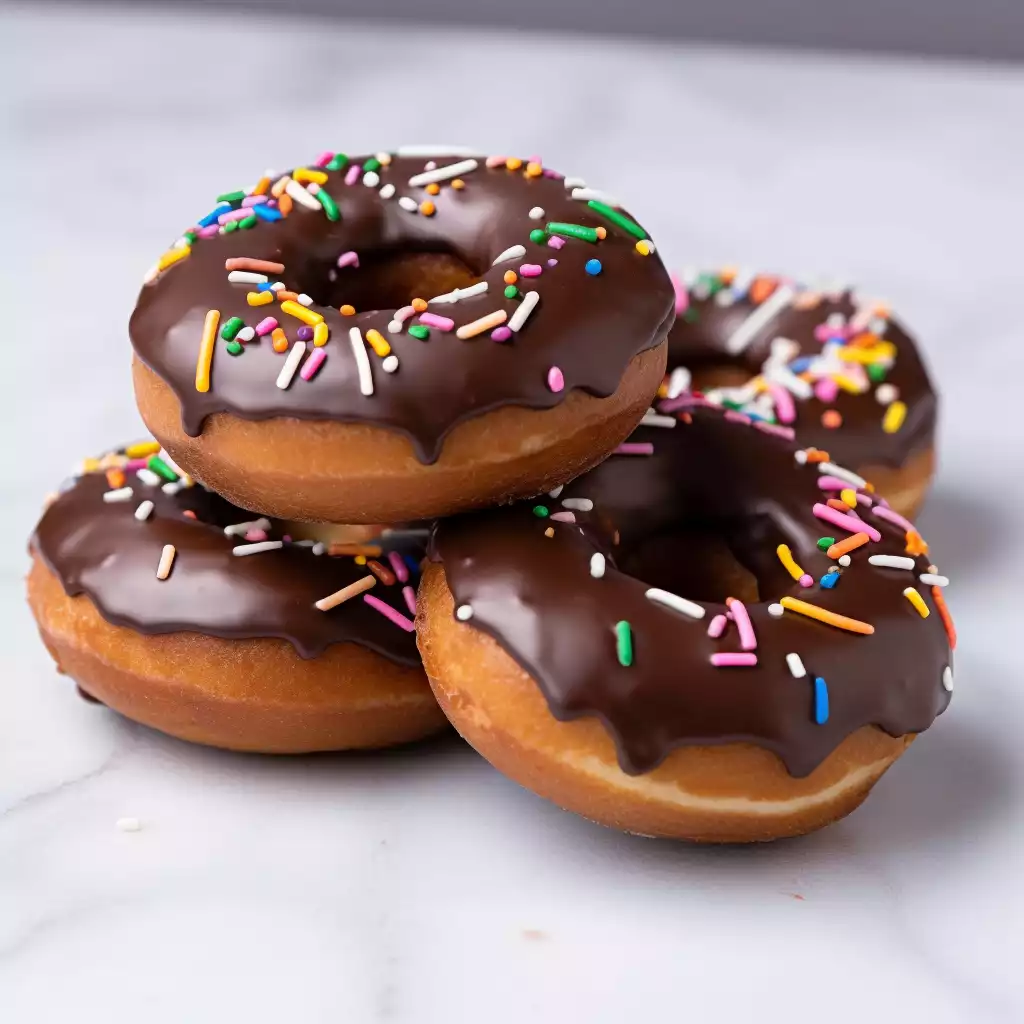
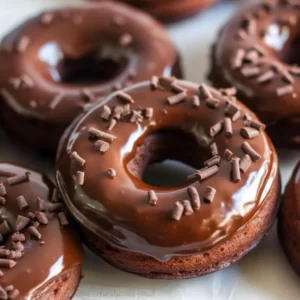
Chocolate Dipped Doughnuts
Chocolate Dipped Doughnuts
5
from
7
votes
Prep:
20
minutes
minutes
Cook:
15
minutes
minutes
Total Time
35
minutes
minutes
Servings:
10
Satisfy your sweet cravings with my lovely chocolate dipped doughnuts with Rainbow Sprinkles recipe. Indulge in the classic fluffy doughnut texture combined with rich dark chocolate and whimsical sprinkles.
Nutrition: per serving
Calories
285
kcal
Carbs
36
g
Fat
13
g
Saturates
9
g
Sugars
15
g
Protein
6
g
Fibre
1
g
Ingredients
Doughnuts
▢
250
g
Bread Flour
▢
50
g
Caster Sugar
▢
1
tsp
Salt
▢
1
tsp
Vanilla Extract
▢
1
sachet
Yeast
instant
▢
70
g
Butter
unsalted
▢
75
ml
Milk
▢
2
Eggs
Glaze
▢
100
g
Dark Chocolate
▢
30
g
Butter
unsalted
▢
1
tbsp
Milk
▢
1
tbsp
Golden Syrup
▢
50
g
Chocolate
▢
50
g
Rainbow Sprinkles
Instructions
For the doughnuts
Add the flour, sugar, yeast and 1 tsp salt in the bowl and mix until combined.
Then gradually add the egg, milk and butter.
Gently mix until the dough comes together. The dough should become soft, elastic and sticky. (See Note 1)
Knead until you get a smooth dough.
Transfer the dough into lightly greased bowl.
Cover and leave to rise in a warm place for 1-2 hours or until doubled in size.
Place the dough on a floured worktop and roll out into 1/2 inch thick sheet
Cut the dough using a doughnut cutter. (See Note 2)
Set the doughnuts aside on parchment paper. (See Note 3)
Cover and let the doughnuts rest for 30-60 minutes, until the doughnuts have increased in sized.
In a large separate deep pan, heat the oil to 180°C.
Gently put the doughnuts into the pan, make sure not to overcrowd.
Fry for about 3 minutes until puffed and golden.
Flip them over gently and fry for another minute or 2. You will need to hold them down with a spoon as they begin to float.
Remove from the oil and drain them
For the glaze
Melt the chocolate in a heatproof bowl set over a pan of simmering water.
Remove from the heat and gradually add the butter, milk and golden syrup, incorporating fully after each addition.
While still warm, dip the doughnuts in the glaze to coat the top.
Transfer to a plate and sprinkle over the chocolate or rainbow sprinkles.
Leave to set and then serve.
Add your first comment to this post
Full Name
Email Address
YOU MAY ALSO LIKE
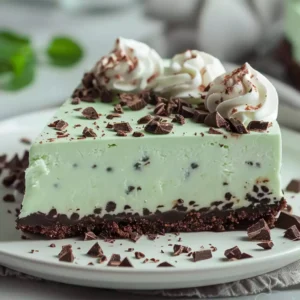
Mint Aero Cheesecake
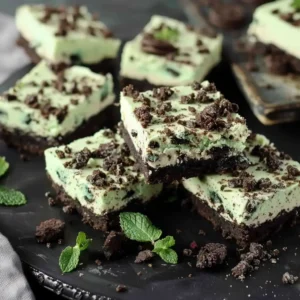
Mint Oreo Cheesecake Bars
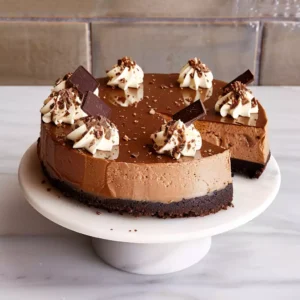
Chocolate Cheesecake
Chocolate Cupcakes
Kinder Bueno Ice Cream
Chocolate Doughnuts
Chocolate Cake
Snickers Milkshake


Add your first comment to this post