Combine wholemeal flour and salt in a mixing bowl.
Add vegetable oil to the mixture and use your fingers to rub it in.
Gradually mix in warm water until you have a smooth and pliable dough. If the dough is too dry, add more water.
Knead the dough for 5-10 minutes until it becomes smooth and elastic.
Cover the dough with a damp cloth and let it rest for 10-15 minutes.
Divide the dough into 8-10 equal portions and shape them into balls.
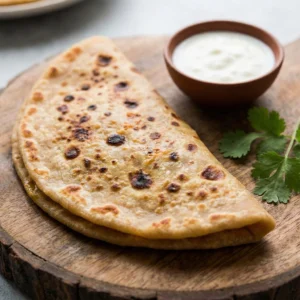
Roll each ball into a thin, round chapati shape, about 15-20cm in diameter, on a floured surface.
Heat a non-stick frying pan or crepe pan over medium heat.
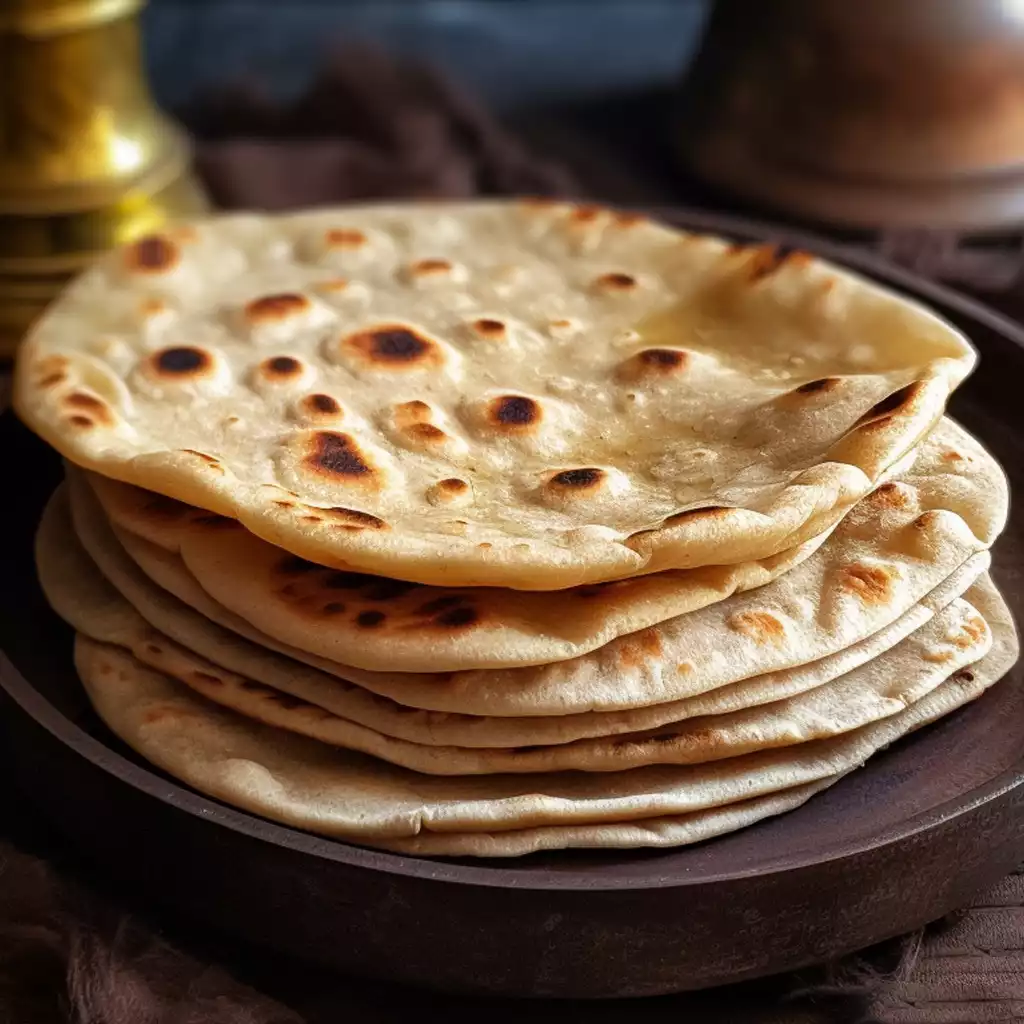
Cook one chapati on the pan for about 30-40 seconds until it starts to puff up and brown spots appear.
Flip the chapati over and cook the other side for another 30-40 seconds.
Keep the cooked chapati warm in a clean tea towel.
Repeat the process with the remaining chapatis.


Add your first comment to this post